The Water Damage Repair Process
How a leak actually gets fixed
Most homeowners have a stain on the ceiling and no idea what comes next. The repair is a defined sequence of steps — each one matters, and skipping any of them is how a finished repair ends up failing months later.
01Identify whether the leak is still active
A stain that's still growing, a ceiling that's still soft, a wall that's still wet to the touch — none of those are ready to be closed up. The first job is to confirm the water source has actually stopped, not just slowed down. We'll tell you plainly if the area needs more drying time before the repair can begin.
02Cut out and remove what's damaged
Drywall that's been saturated stays weak even after it dries. We cut out the damaged section — typically back to the nearest studs on each side — and bag it for disposal. The cut line is straight and intentional, not ragged, so the new drywall patch has a clean seam to marry up to.
03Inspect what's behind the wall
Insulation that's soaked gets removed. Wiring that passes through the wet area gets checked before the wall goes back up. Anything that doesn't belong — mold, a disconnected vent, a slowly leaking drain line — surfaces here, and we'd rather find it now than after the new drywall is hung.
04Hang, tape, and finish the new drywall
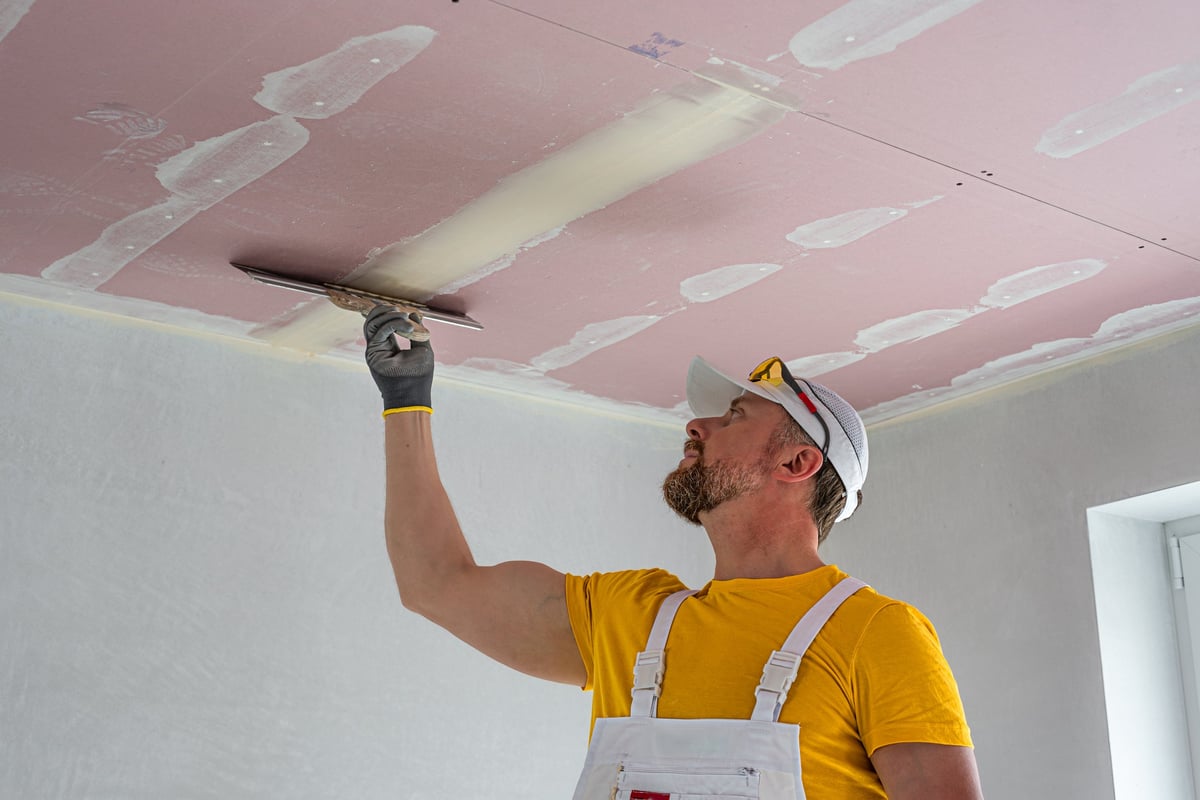
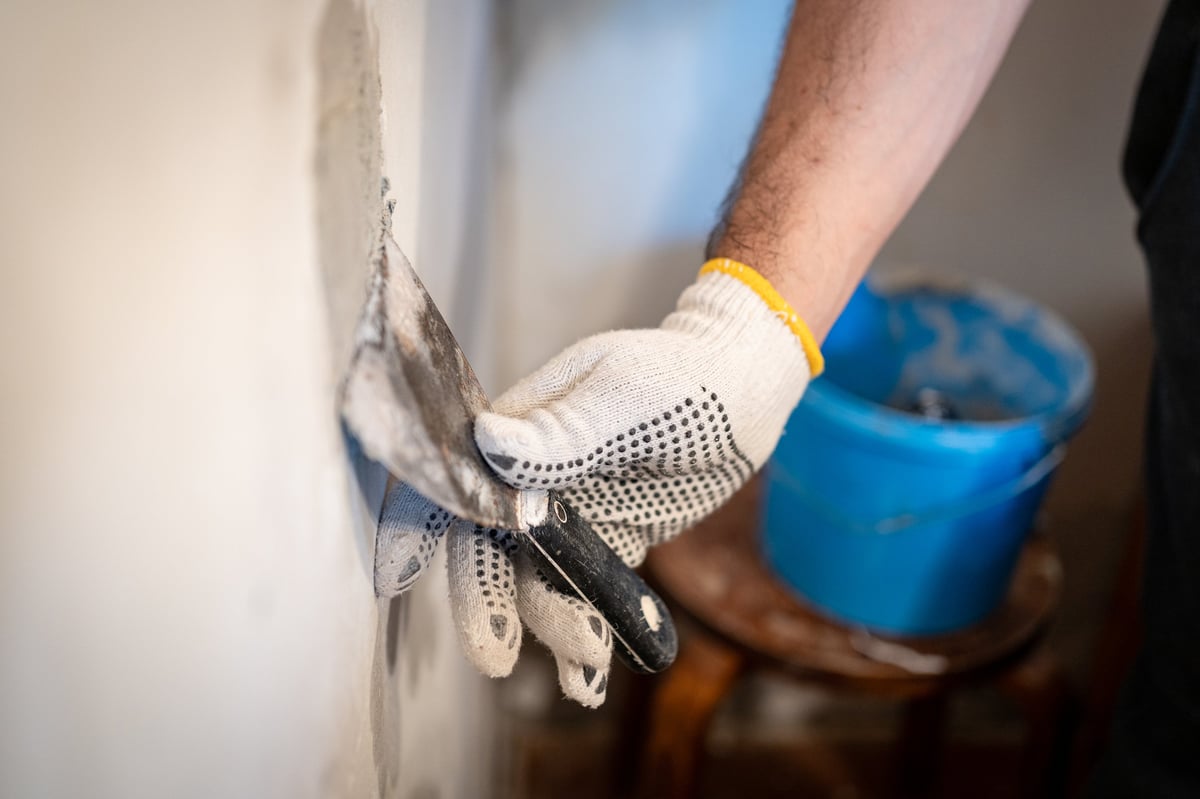
New drywall hung, taped at the seams, mudded, sanded, and textured to match the surrounding ceiling or wall. The texture match is where most repairs fail — a smooth patch on a textured wall reads as a repair from across the room. We match the texture, not just the paint.
05Prime and paint the area
A stain that hasn't been sealed will bleed through the new paint within weeks. We prime the patched area to lock the stain in, then paint the patched section and blend the edges into the surrounding wall or ceiling. For a large ceiling repair, we'll tell you when a full repaint of the ceiling is the cleaner result.